A guide to changing your user settings
Accessing the user settings page
To access the user settings page, click on the gear icon in the top right corner of the page (on mobile, click the drop down menu button in the top right and then the gear icon). You can also access the account settings page by clicking here.
You can navigate between the different sections of the user settings page by clicking the links in the side menu, or the section menu on smaller screens.
General settings
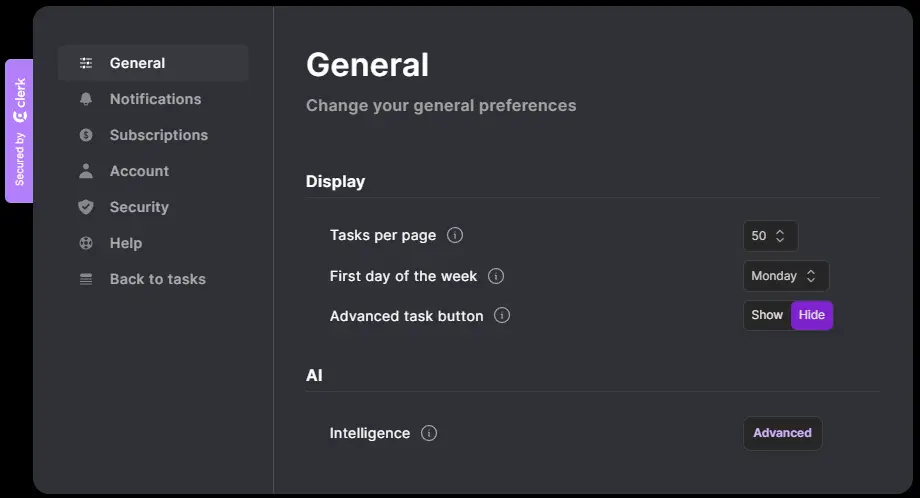
The general settings page allows you to change key settings to customise your dypt experience.
Display
- Tasks per page: The default number of tasks you will see per page, this persists across devices and sessions
- First day of the week: The day to use as the first day of each week wherever dypt shows you dates in a calendar view
- Advanced task button: Show or hide the 'Add advanced task' button which appears to the right of the add task bar and allows you to preset task properties before adding the task
- Task info pills Show or hide the small info pills that appear on the right of each subtask in the task list; indicating things like the task's priority, due date, shared status and more. These are useful, but sometimes you might want to hide them to reduce clutter.
AI
- AI Mode: Choose your default AI mode. Fast is quick and works well for most tasks. Deep uses a more capable model for more considered responses. Both modes use 1 AI action each time you run an AI feature.
Timezone
- Set automatically: Let dypt use the timezone reported by your browser.
- Timezone: Choose the timezone dypt should use for dates, deadlines, reminders and email summaries when automatic timezone is off.
Notifications
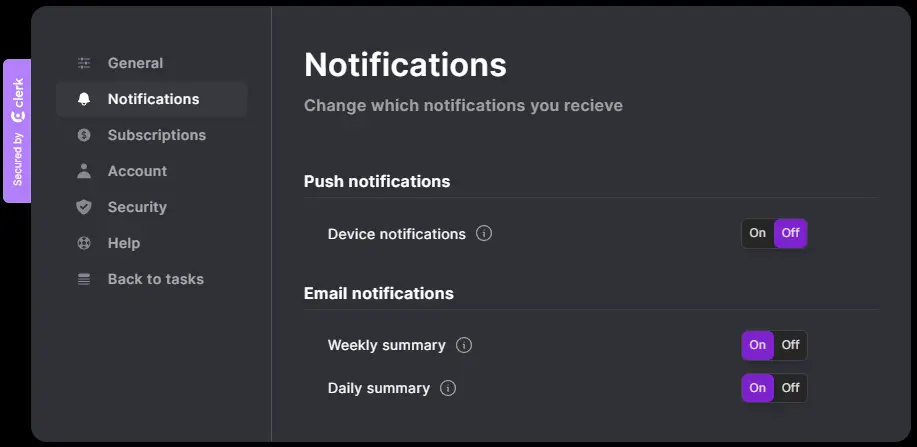
The notifications page allows you to select which notifications you wish to receive from dypt.
Push notifications
- Device notifications: Enable or disable push notifications on the current device. These are primarily used for task reminders. The first time you enable them, your browser or installed app will ask you to grant permission.
Email notifications
- dypt updates: Get notified about new features, updates and improvements to dypt. We will never spam you or share your email with third party marketing companies.
- Weekly summary: Receive a weekly email every Monday morning which summarises your tasks and highlights those with deadlines and/or priorities set.
- Daily summary: Receive a daily email every morning which summarises your tasks and highlights those with deadlines and/or priorities set. This is available on Pro and VIP.
Subscriptions
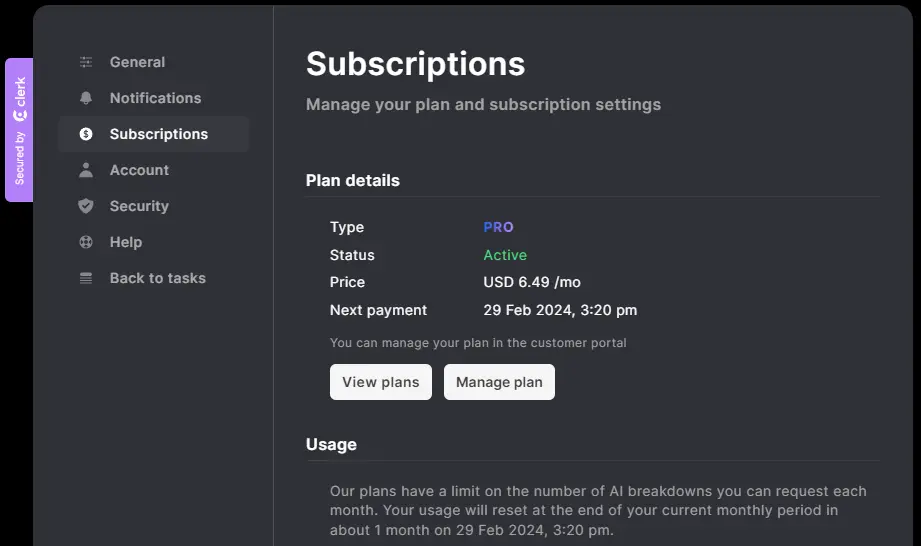
The subscriptions page allows you to manage your subscription to dypt.
Plan details
This section shows you the details of your current plan.
- Type: The dypt plan that you are currently subscribed to, e.g. Starter, Pro, VIP
- Status: Whether your subscription is active, e.g. active, canceled, expired or unpaid
- Price: The price you are currently paying for your subscription
- Next payment: The date your subscription will renew on, if applicable
- Ends at: The date your paid plan will end, if you've cancelled it
- Credit or debit: Any billing balance on your Stripe account
Changing your plan
- View plans: To view the available plans, click on "View plans". You will be taken to the pricing page where you can view the available plans and their features.
- Manage plan: To manage your plan, click on "Manage plan". You will be taken to the billing portal where you can view and manage your subscription. You can use the portal to upgrade or downgrade your plan, change your renewal period, change your payment method or cancel your subscription.
Usage

The usage section shows how close you are to your plan limits.
- Tasks: Shows how many tasks you own, your plan limit, and how many tasks you can still create. Completed tasks count towards this limit. Deleted tasks do not.
- AI actions: Shows how many AI actions you have used, your monthly limit, and how many remain. AI actions reset at the end of your billing period.
If you reach a limit, you can delete tasks, wait for AI actions to reset, or upgrade to a plan with higher limits.
Data
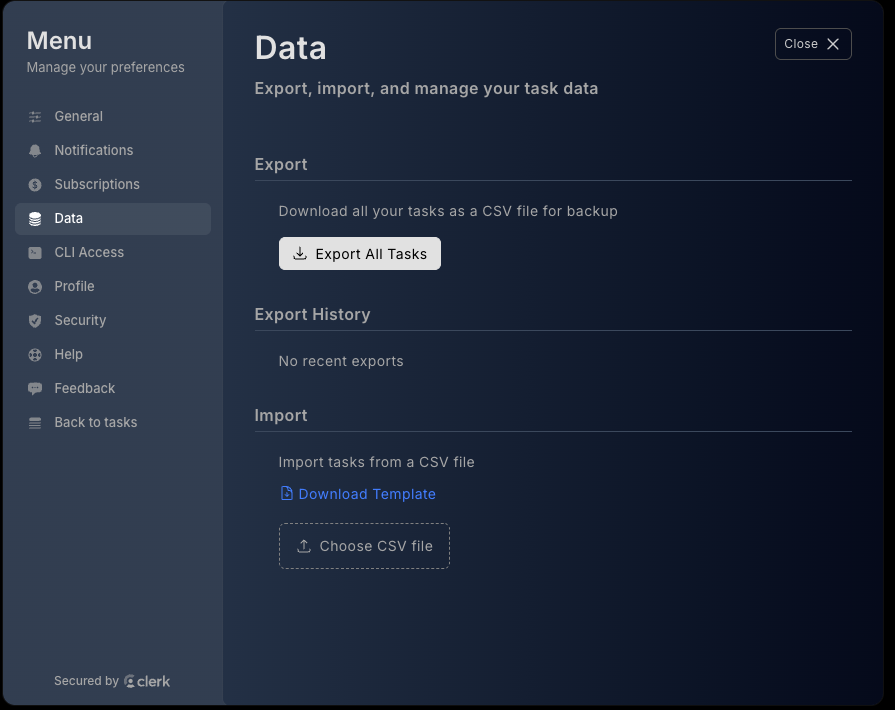
The Data page lets you export your tasks or import tasks back into dypt.
- Export: Download a copy of your task data.
- Import: Upload a file and preview the tasks before confirming the import.
CLI Access
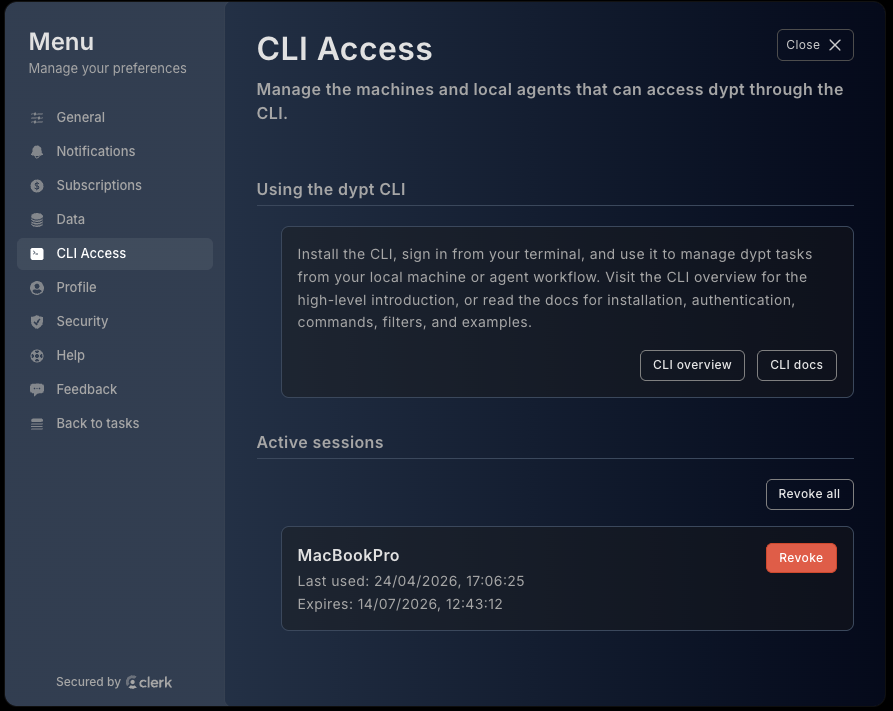
The CLI Access page shows command line devices that have access to your account. You can revoke individual tokens or revoke all CLI access if a device is lost, shared, or no longer trusted. To install and use the command line tool, see the dypt CLI docs.
Account settings
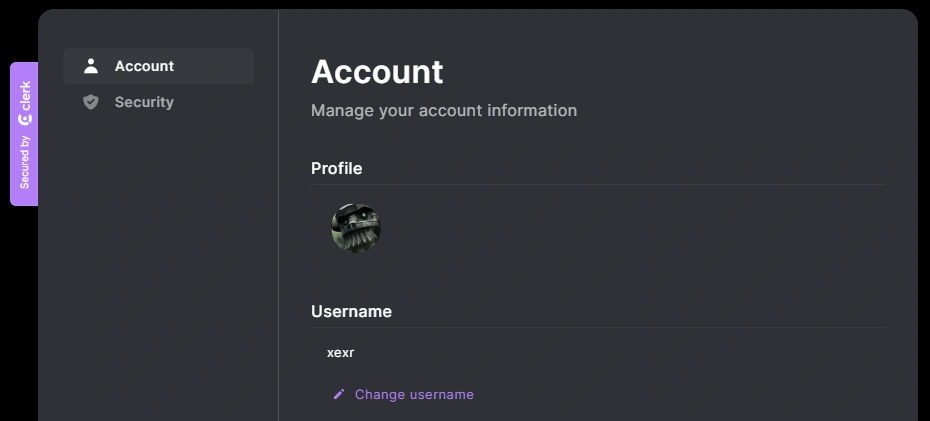
Changing your profile picture
Once on the user settings page, click on your profile picture. Upload a new image and click continue.
Changing your username
To change your username, click on "Change username" on the user settings page. Enter a new username and click continue. Note usernames must be unique.
Updating your email address
To update your email address, click on "Add email address" on the user settings page. Enter a new email address and click continue. You will be sent an email to confirm the change.
By default, your existing email address will remain on your account. If you wish to remove it, click on the down arrow next to the email address and then click "Remove email address".
Managing your connected accounts
Connected accounts are third party services that you have connected to your dypt account. Currently, you can connect your Google, Github and Discord accounts to your dypt account to enable sign in.
The advantage of doing so is that you can sign in to dypt with your existing login information from those services. You can also sign in to dypt using any of the accounts you've connected.
To connect another account, click on "Connect account" on the user settings page. Select the service you wish to connect and follow the instructions.
To disconnect an account, click on the down arrow next to the account and then click "Remove connected account".
Security settings
Changing your password
To change your password, click on "Set password". Enter your current password and then your new password. Click continue to confirm the change.
Device management
The user setting page provides an overview of the devices that are currently signed in to your account. You can also sign out of any devices from this page if you wish to do so.
Deleting your account
We hate to see you go, but we make it easy to leave.
Deleting your account will also delete all of your data (e.g. tasks, notes, etc). Any tasks you have shared with other users will be deleted for them as well. This action is permanent and irreversible, you will not be able to recover your data after your account is deleted.
Please note that you can easily change or cancel your subscription without deleting your account, you can do so on the "Subscriptions" page. If you do decide to proceed with the deletion and still have an active paid subscription, it will be canceled immediately and you will not be able to use the service anymore. You will not be charged again.
Before you go, we would love to see if we can help with whatever issue you are facing. If there is something we can help with, please get in touch.
If you are certain you wish to proceed with account deletion:
- Click on "Delete account" on the user settings page
- You will be asked to confirm the deletion by typing "Delete account" in the text box
- Note that this action is irreversible and will irrevocably delete all of your data
You'll receive a final goodbye email to confirm the deletion.
Help
Onboarding guide: Reshow the dypt onboarding guide that greets you when you first join dypt
Video tutorials: Watch a series of short videos that show you how to use dypt
Read the docs: A link to this documentation
Get in touch: Opens an email to contact dypt support
Feedback
Submit feedback: Submit bug reports, new feature requests and general feedback. This really helps us to improve dypt, so please feel free to share.
View roadmap: View the dypt roadmap of upcoming features
Theme
dypt offers two different themes, light and dark which you can toggle between at any time by clicking the sun or moon icon in the top right corner of the page. Alternatively, you can select "system" to match the theme to your device's system settings.